Craft Project – Halloween Frog
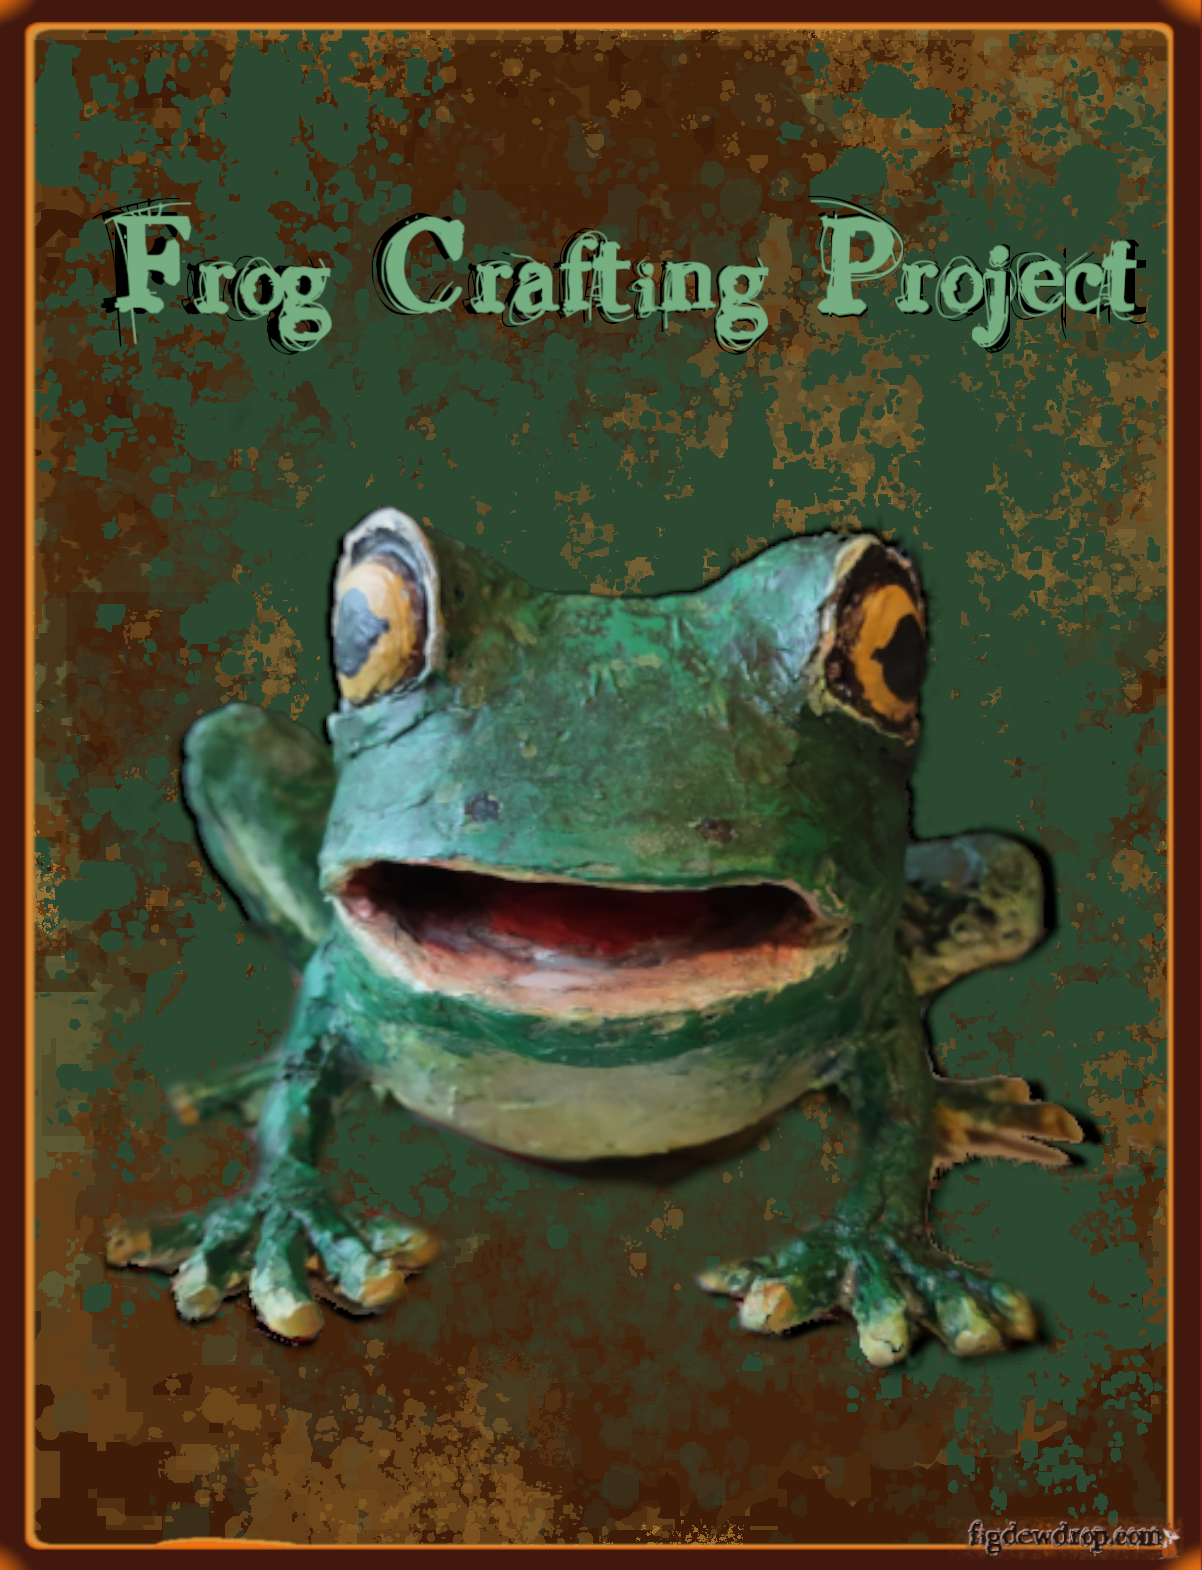
Decided to share some previous arts and crafts I had done in the past. I had not planned on making a tutorial so forgive me for the lack of documentations for each step done.
This project as the title suggests was a frog I had made for Halloween decorations. I can’t remember exactly how long it took in total as I was working on several projects at the time. It was definitely not done in one day.
Warning this project uses hot tools, spray paints/primer, ventilation and proper tools for safety and not safe for a child without adult permission and supervision PLEASE.
So here we go.
Used:
- 3dpen (mynt3d brand)
- Wood burning tool with flat tip to smooth plastic
- Filament 1kg spool for 3d printer PLA brand Kingroon (you DO NOT use remotely all of this I have made many many projects with this spool and still have more to use. It was the proper temp and size for the pen. (any color will do I use grey, white and black for my projects as they usually get painted over.)
- masking tape
- plastic grocery bag or other filler for shaping (preferably something that wont catch fire)
- spray primer and paint – I used grey primer & green paint (both meant for plastics)
- — a place to paint I used a home made box and mesh paint booth I had made for hanging and painting tiny parts for a different project, a bucket or card board box will probably work
- homemade gesso (recipes online but mine is using elmers glue, 2 tb cornstarch, ¼ tsp salt, 1 tsp baking soda, 1-2 tbsp black acrylic paint, drop of dish soap and topped off with water in a 5.5 inch tall jelly jar). — it just helps fill in and smooth tiny errors and paint less layers.
- acrylic paints; green, black, white, light yellow, red, nutmeg brown.
- Miniature diamond files and fine grit sand paper – think wet sanding. Or emery board for nails.
- Paper towels (clean up while painting)
What I did:
As with most of my projects, I start with some kind of scraps or saved clean trash. Yup you heard that right. This one started with an old plastic grocery bag and masking tape for the basic size (will be bigger as I add plastic 3dpen filaments…) and shape of body and head; lumps for eyes and open flap to be a mouth later. There is no image of this part.
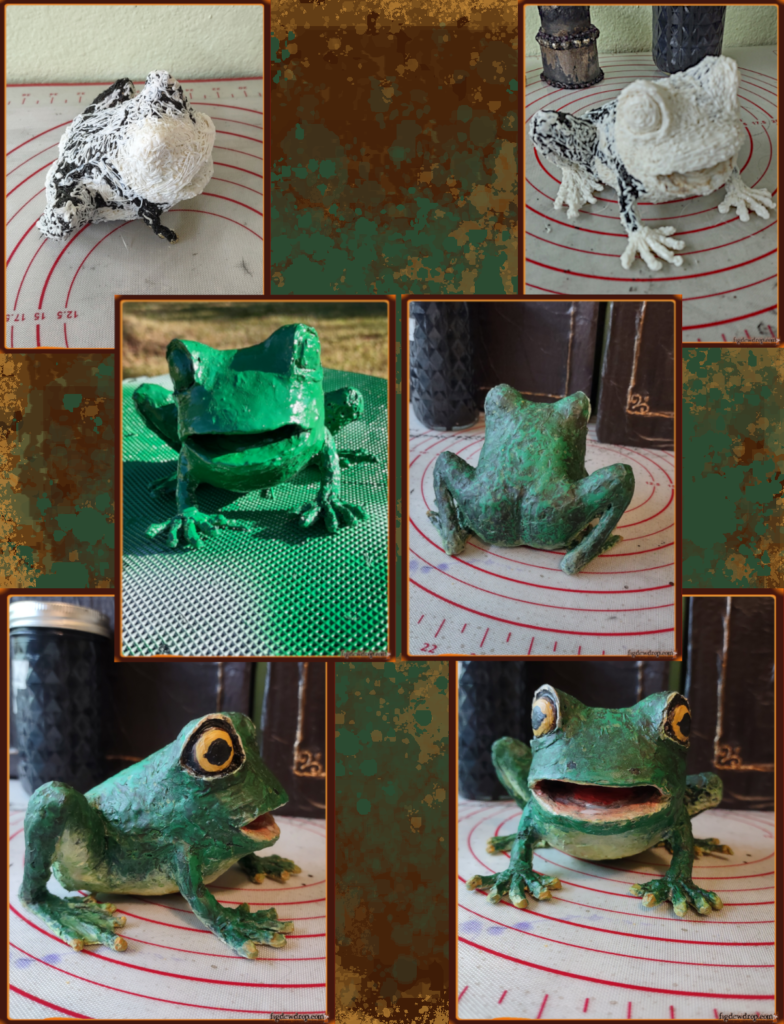
After I felt it was a decent basic size and shape rough form, I started using the 3dpen to shape everything on the body and head. Leg stick roughly after this was slowly started. As seen in the first image of collection.
I shaped the feet separately with 3dpen, as well as a rough form of the legs, with a small bit of plastic bag and masking tape in thighs as I didn’t want it full of plastic and more light weight hollow-ish.
Once those were formed I used the pen to “weld” them together to the rest of the frog.
This step probably would have been easier if I had waited to attach the legs and feet to body AFTER I had used a wood burning tool to smooth all the surfaces. It doesn’t have to be perfect after the plastic cools it can be filed or sanded with fine grit sandpaper.
Once the frog is all smoothed and shaped together, filed down any unpleasant spots – This is where I sprayed it with primer one side, let dry flipped and sprayed the other. Dry. Then if so choose as I did a base green spray paint (skip if you wish, I ended up painting acrylic over all this color anyway.)
Gesso came in here as the spray paints amplified a lot of errors still there. Once gesso dies, if necessary add another layer of this. Once dry, start acrylic painting.
Let each color and or layer dry before doing the next or they will just muddy together. (I mix my paints to make my own colors that were listed.)
I painted the main green color first. Black in the eye sets and watered down black in mouth to fill hard to reach spots. Then dry brushed a brown-green, black green and then green again, tones over areas.
The underside was dry brushed white first so was the mouth. Belly got a light dry brush of a light yellow and white mix.
The eye yellow and the pupil done in black. Mouth was a light yellow- white over the black I had already painted a watered down black to fill deep into the frogs mouth. After that dried. I mixed white and red for the pink tones roof of mouth and tongue. For thinner layers, try using a small container with a dab of water and dab of your color you mixed. use paper towel to wipe gently away any run drips.
Maybe this inspires you to come up with your own version or recreate this one. This frog when finished is approx 5 inches wide from toe to toe. Rear to nose 4 inches. Three inches tall from counter to top of eyes. Happy Crafting.
Images in this picture are in order of process being made. hopefully through the description and these images you can recreate a similar project or be inspired. Image is left decently large so you can see it.
Comments
Craft Project – Halloween Frog — No Comments
HTML tags allowed in your comment: <a href="" title=""> <abbr title=""> <acronym title=""> <b> <blockquote cite=""> <cite> <code> <del datetime=""> <em> <i> <q cite=""> <s> <strike> <strong>