Craft Project – Bottles and Labels
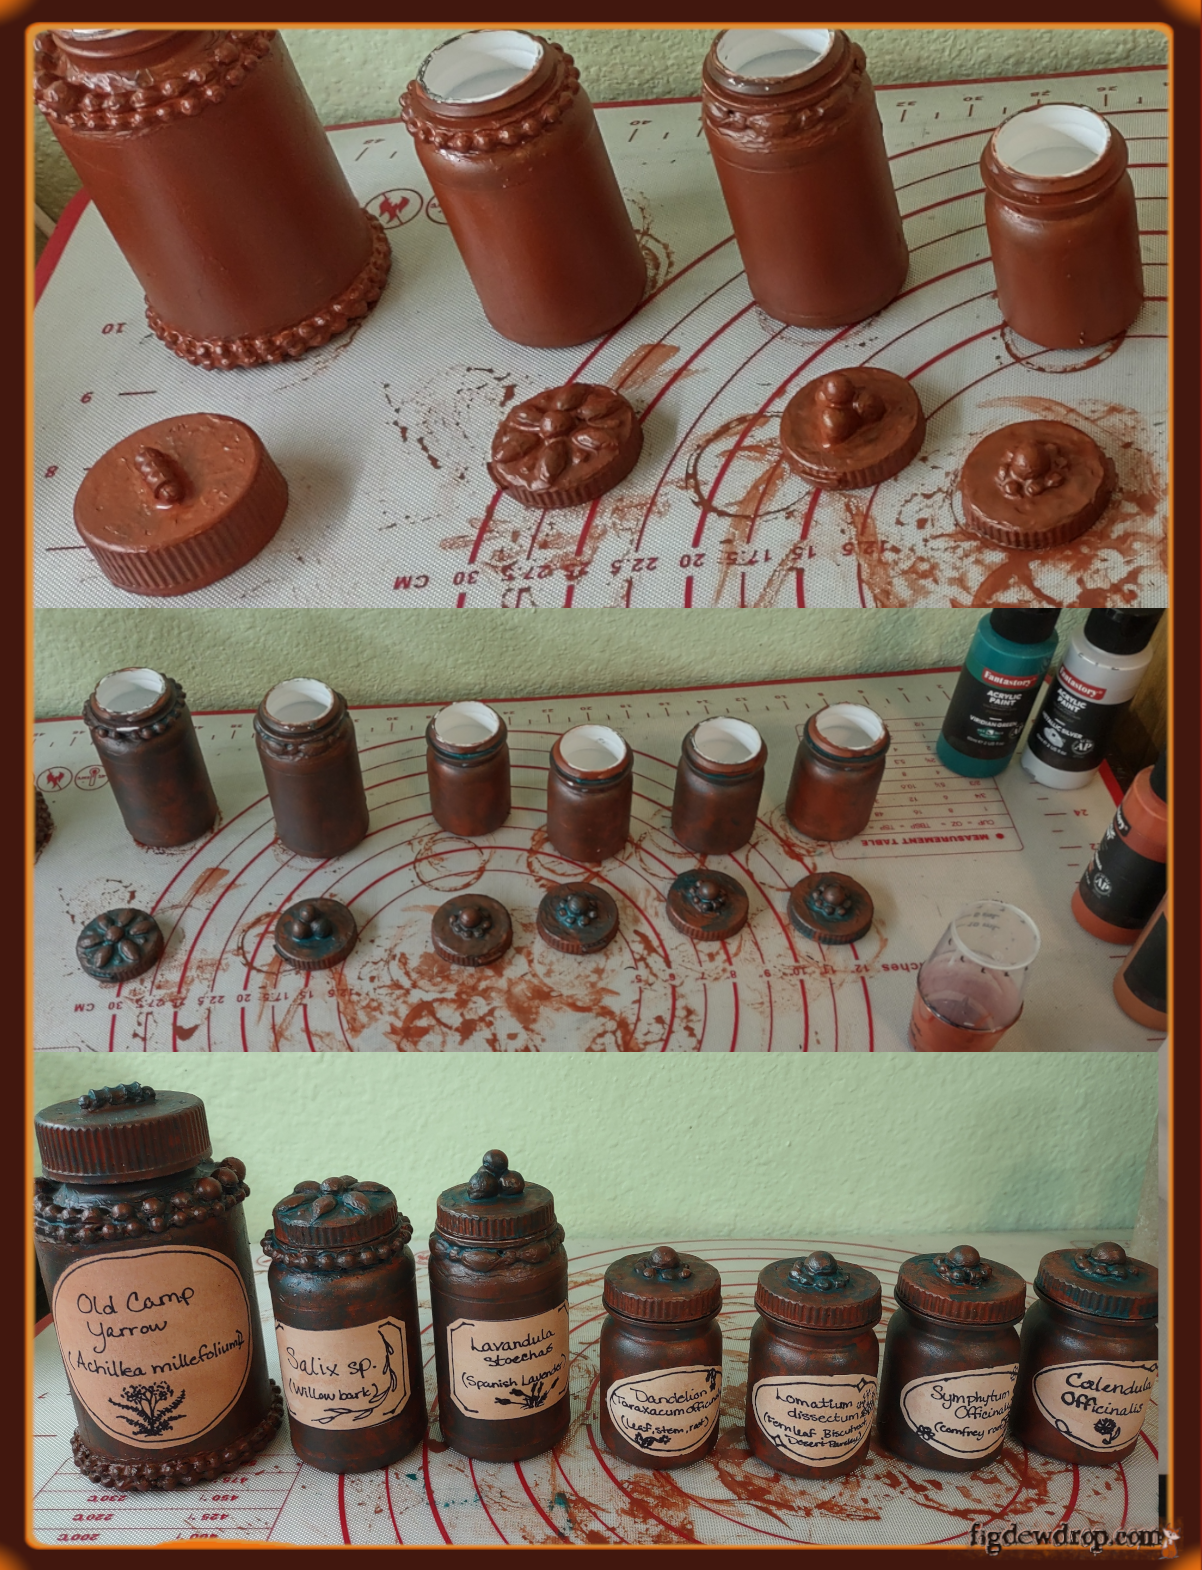
Whether you want to decorate bottles for the heck of it or Halloween, here is some examples I have done over the years. I use them to store harvested dry herbs, seeds from the garden etc. Technically if just decor you don’t have to have anything in them.
Firstly as a lot of my home projects for myself, I use old items and turn it into something new-ish. As always, with hot tools if a child, please ask an adult for permission and help. As with any hot tools proper working surface and protection should be used. Painting areas I use a sheet of cardboard to sit on and paint on for big projects. Small ones I use my silicone hot mat (used for cooking) easily wipes off with a little soap and water and protects the furniture surface from wood-burner and 3dpen projects. Yes high pigment purple seems to stain mine LOL! Most of my tools were from amazon for super cheap end products. They work just fine. Been crafting all my life and low cost doesn’t mean low quality… at least not always. I don’t know the links for my tools as its been years since I got them.
For this one find:
- some old medicine bottles, supplement bottles etc. Labels removed, washed and dried.
- Gesso (or homemade versions)
- acrylic paints (brands I use: fantastory 36 paints set, and apple barrel white, black and nutmeg brown. (I use a lot of those colors so cheaper large bottles make sense for me.)
- Mardi Gras beads or beads on string you don’t mind ruining and painting over.
- Hot-glue gun and hot glue sticks.
- Wood burning tool (optional for a smoother look)
- silicone finger tips or other tools to protect fingers from being burnt
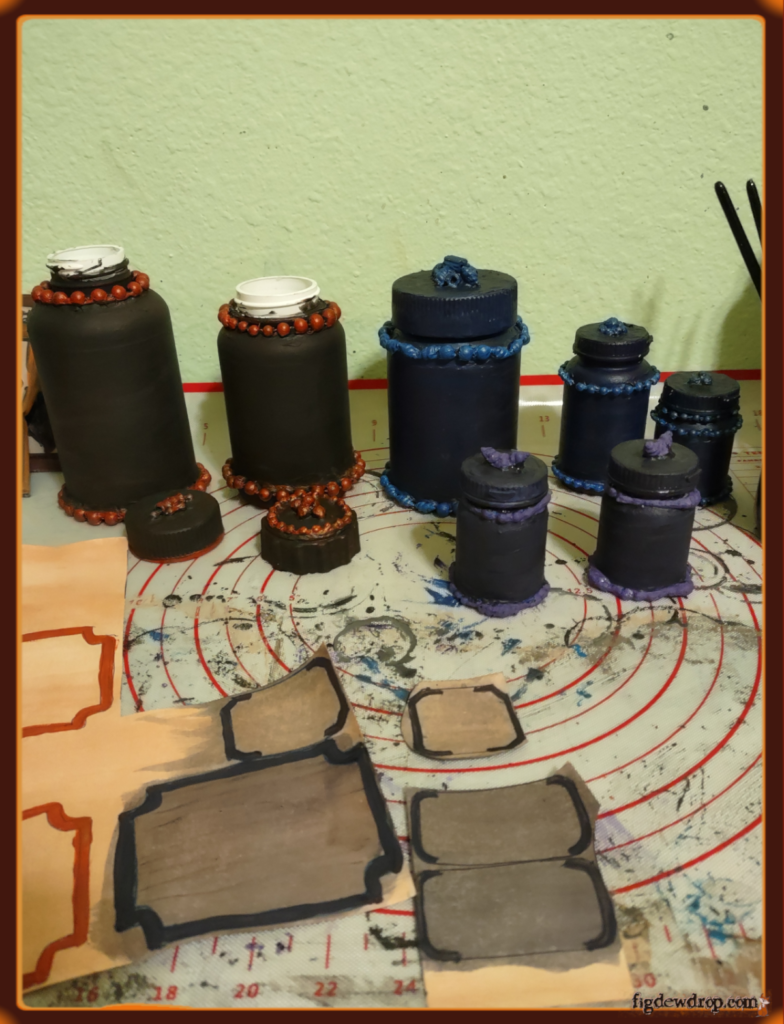
What to do: after the bottles have been cleaned and dried. Figure out how you might want to place the beads on the bottle. Once decided, use hot glue to attach the bead in place.
If hot glue is bumpy and want it to lay down a bit less noticeable, having a wood-burning tool on lower heat will melt down the hot glue. Please do this in a ventilated area or outside. Be careful as the tool will also melt plastic beads so try lower temps and not touch the bead with the tool if you can help it.
Once you’re happy with the placement and smoothed glue. We put two thin layers of gesso over the bottle and lid.
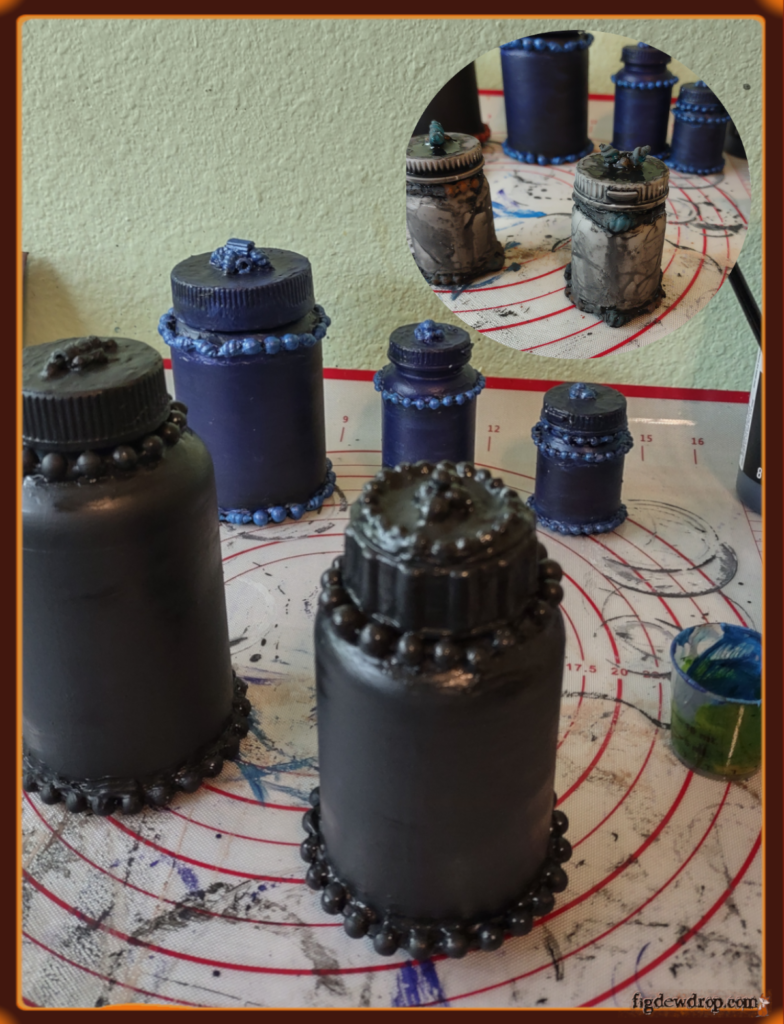
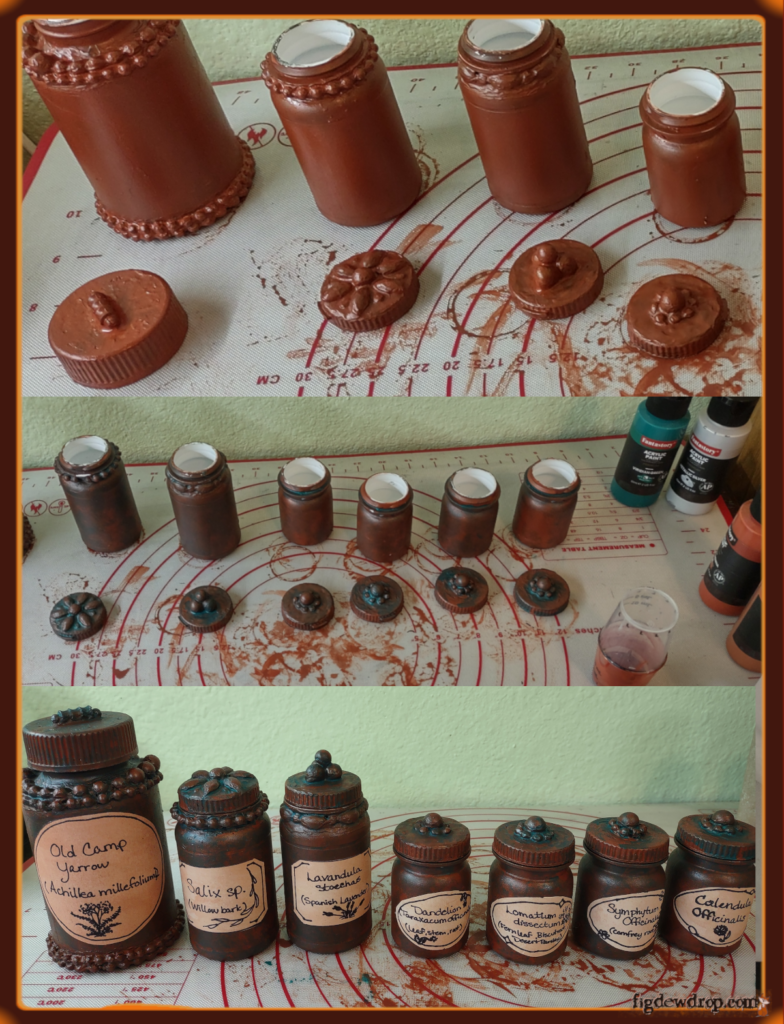
Once dry, a layer of black was done on mine as I wanted my colors dark. Following layers with drying between each layer I used, several different colors. One set was black and purple. Another was copper and browns and orange. A third set was blue, purple and silver. Bronze, copper, and turquoise on another.
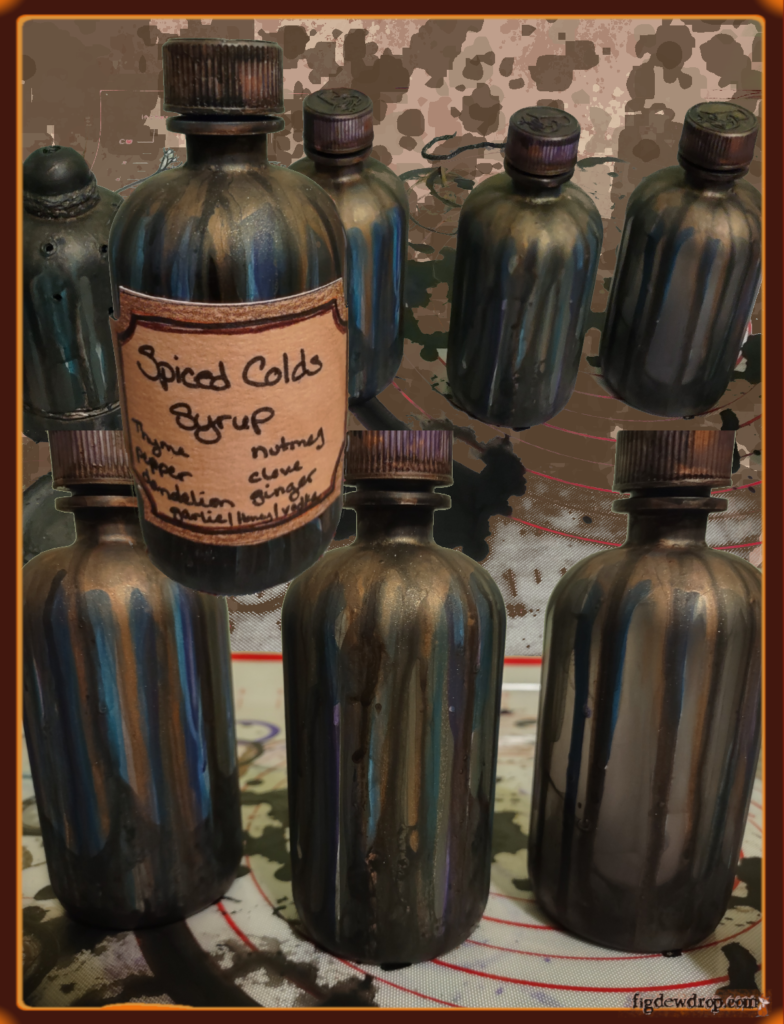
For the drip bottles. I didn’t use gesso. Started with watered down black and watered down all the colors used to drip from top of bottle and run down . Let dry. Flipped them upside down and dripped more from the bottom side in black. With an example label.
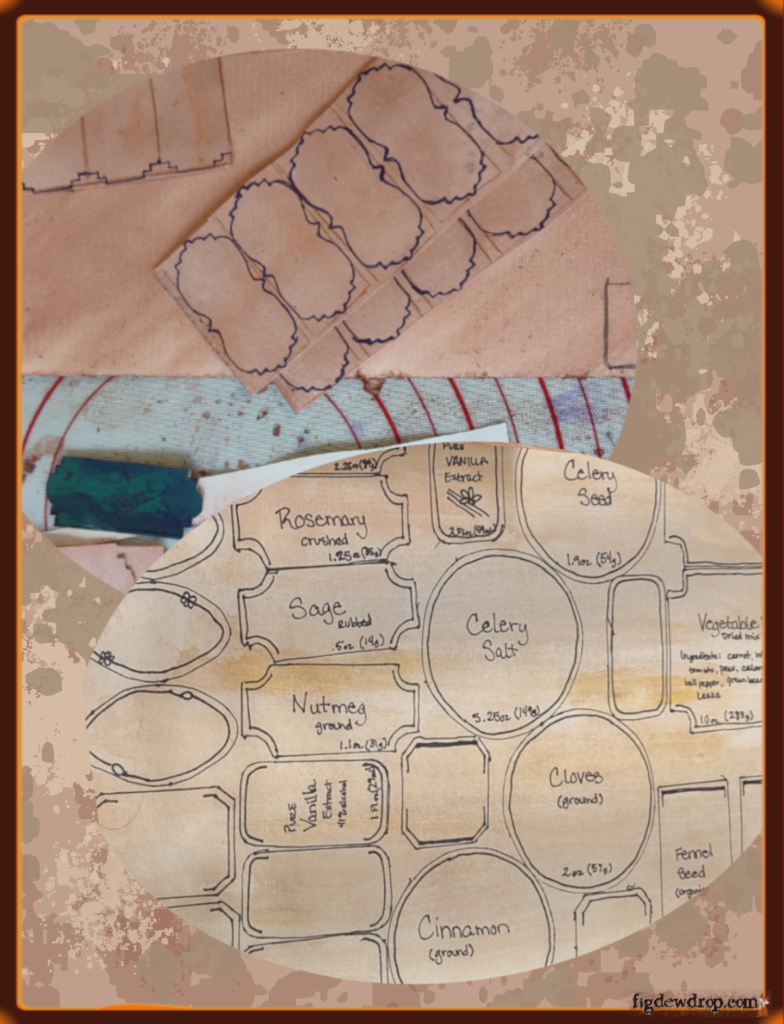
Labels; as in the images you could make similar designs measured out on paper painted with watered down colors for an aged look. There is also blank labels in my shop if you don’t want to make them yourself.
(Click here for labels Collection)
I attached the labels with school glue also known as elmers glue. The ones for sale are on sticker sheets. If you use the editor before purchasing you can add text boxes to each label if you know what you want each one to be and don’t want to have to fill them out later.
Hope these recycled bottle decor crafts inspired you to make your own. Additional idea for old bottles, the sand timer is two liquid Benadryl bottle tops cut. It doesn’t actually work too well as a timer and the top and bottom is cardboard hot-glued on painted as well as a soft wire with yarn wrapped around the wire and painted, nothing fancy just looks neat in dark as prop on Halloween. (the bottoms I use for holding my brushes and water when painting.) also have use them to organize pencils and pens, and root plant cuttings.
Happy crafting.
Comments
Craft Project – Bottles and Labels — No Comments
HTML tags allowed in your comment: <a href="" title=""> <abbr title=""> <acronym title=""> <b> <blockquote cite=""> <cite> <code> <del datetime=""> <em> <i> <q cite=""> <s> <strike> <strong>